
Xamarin tutorial iOS MapKit Part 3
This is the third and final post, in the three-part tutorial, on using the iOS MapKit in a Xamarin iOS project. In the first post we looked at the initial setup of the project, as well as basic generation of a map view. The previous post took a look at annotations and how to create custom annotations. In this final post we will look at search functionality using MKLocalSearch.
The source code can still be found at GitHub.
To let our app be able to do a search we need to do a few things. First, we’re going to add two new classes, a search delegate and a result view. The search delegate will execute the search itself. The result view is in charge of showing the results, as well as deciding what to do when a result item have been selected. Further on we need to add the search bar to the app, and hook it up with a search controller.
As you can see, from the source code, I have added the two new classes. I have called the search delegate SearchDelegate and the result view SearchSource.
The SearchDelegate inherits UISearchDisplayDelegate and we need to implement the ShouldReloadForSearchString method. Let’s take a look at what it does.
public override bool ShouldReloadForSearchString(UISearchDisplayController controller, string forSearchString)
{
   var searchRequest = new MKLocalSearchRequest ();
   searchRequest.NaturalLanguageQuery = forSearchString;
   var localSearch = new MKLocalSearch (searchRequest);
   localSearch.Start (delegate (MKLocalSearchResponse response, NSError error)
   {
      if(response != null && error == null)
      {
         Console.WriteLine (response);
         ((SearchSource)controller.SearchResultsSource).mapItems = response.MapItems.ToList();
         controller.SearchResultsTableView.ReloadData();
      }
      else
      {
         Console.WriteLine (error);
      }
   });

   return false;
}
This method starts by creating a new object of a local search request. Then we pass on our search string to the NaturalLanguageQuery. This search request is then passed on to the constructor of the local search object we create. We use this object to start the search, and pass on a completion handler. This is where we get our search results, and decide what to do with them. As you can see from our example we simply output the response (or error if there is any), and then we add this to the result table. At the end, we reload this result table, so the end-user can see the actual results.
The SearchSource class should be ok to understand. It inherits the UITableViewSource and it just tells the app what the contents of the table cells should be. The one method I want to point out is the following.
public override void RowSelected(UITableView tableView, NSIndexPath indexPath)
{
   _searchController.SetActive (false, true);
   CLLocationCoordinate2D coords = mapItems [indexPath.Row].Placemark.Location.Coordinate;
   _mapView.Map.SetCenterCoordinate (coords, false);
   _mapView.Map.SetRegion (new MKCoordinateRegion (coords, new MKCoordinateSpan (_mapView.kmToLatitudeDegrees (2.5), _mapView.kmToLongitudeDegrees (2.5, coords.Latitude))), true);
}
This method decides what happens when a user selects a search result item. The first line hides the search interface, while the next line gets the location of the selected item. Moving on you’ll see that we call the MapViewController and the Map property (which I will explain in a bit) to center the map around the selected item. Optionally we could add a pin at that location, just to show the user exactly where it is, however I’ll leave it to you to figure out how to do that.
Finally we need to make sure the user actually can use the search functionality and to do this we need to make certain modifications to our MapViewController.
First we want to introduce three new properties.
private UISearchBar _searchBar;
private UISearchDisplayController _searchController;
public MKMapView Map { get { return _mapView; } }
These are the search bar, search display controller and a public property for the MKMapView, which is used to center the map from the search result item selected.
NOTE! As I was reading up on the API for iOS, I noticed that UISearchDisplayController is deprecated as of iOS 8, however it still works. I still recommend looking into the alternative, UISearchController.
In the constructor you need to enable search, and disable auto hiding of the search bar. This is because we’re using MonoTouch.Dialog, and I experienced all sorts of strange behavior if those two lines were excluded.
The code to add the search bar looks like this:
 _searchBar = new UISearchBar (new RectangleF(0, 0, (float)View.Frame.Width, 50))
{
   Placeholder = "Enter search text",
   AutocorrectionType = UITextAutocorrectionType.No,
   TintColor = UIColor.Black
};

_searchBar.SearchBarStyle = UISearchBarStyle.Default;
_searchController = new UISearchDisplayController (_searchBar, this);
_searchController.Delegate = new SearchDelegate ();
_searchController.SearchResultsSource = new SearchSource (_searchController, this);
View.AddSubview (_searchBar);
We create a new object of the UISearchBar type, and specify the frame of it. We also specify a few parameters as well. Then we set the style to be default. We then go on to create the search display controller, and set its delegate and search result source to the classes we created earlier.
With all that in place, the result should look like this: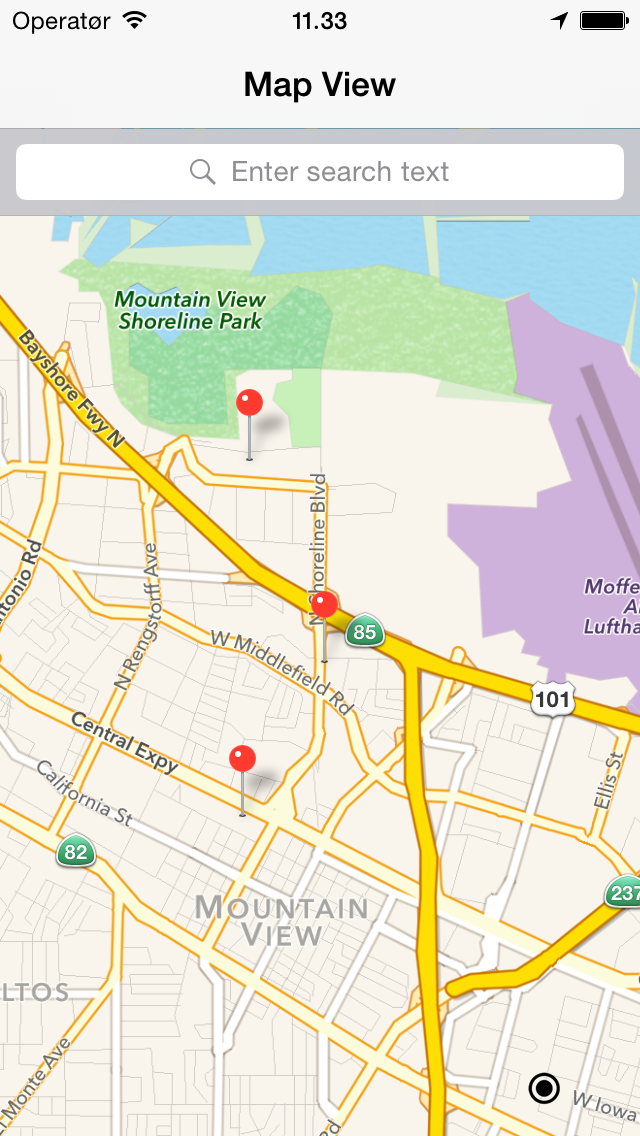
And that concludes this tutorial on the iOS MapKit with Xamarin. Hope you have learnt something, and are able to use some of this for your ideas. Seeing as this is my first tutorial series I would really appreciate some feedback on the format. Ideas for other tutorials is also appreciated!